Hard Drive Replacement: 3 Steps to Fix
Why Your Security Camera’s Hard Drive Matters
Hard drive replacement is a common and manageable DIY repair for security camera systems. This guide provides everything you need to know.
Quick Answer: Signs You Need a Hard Drive Replacement
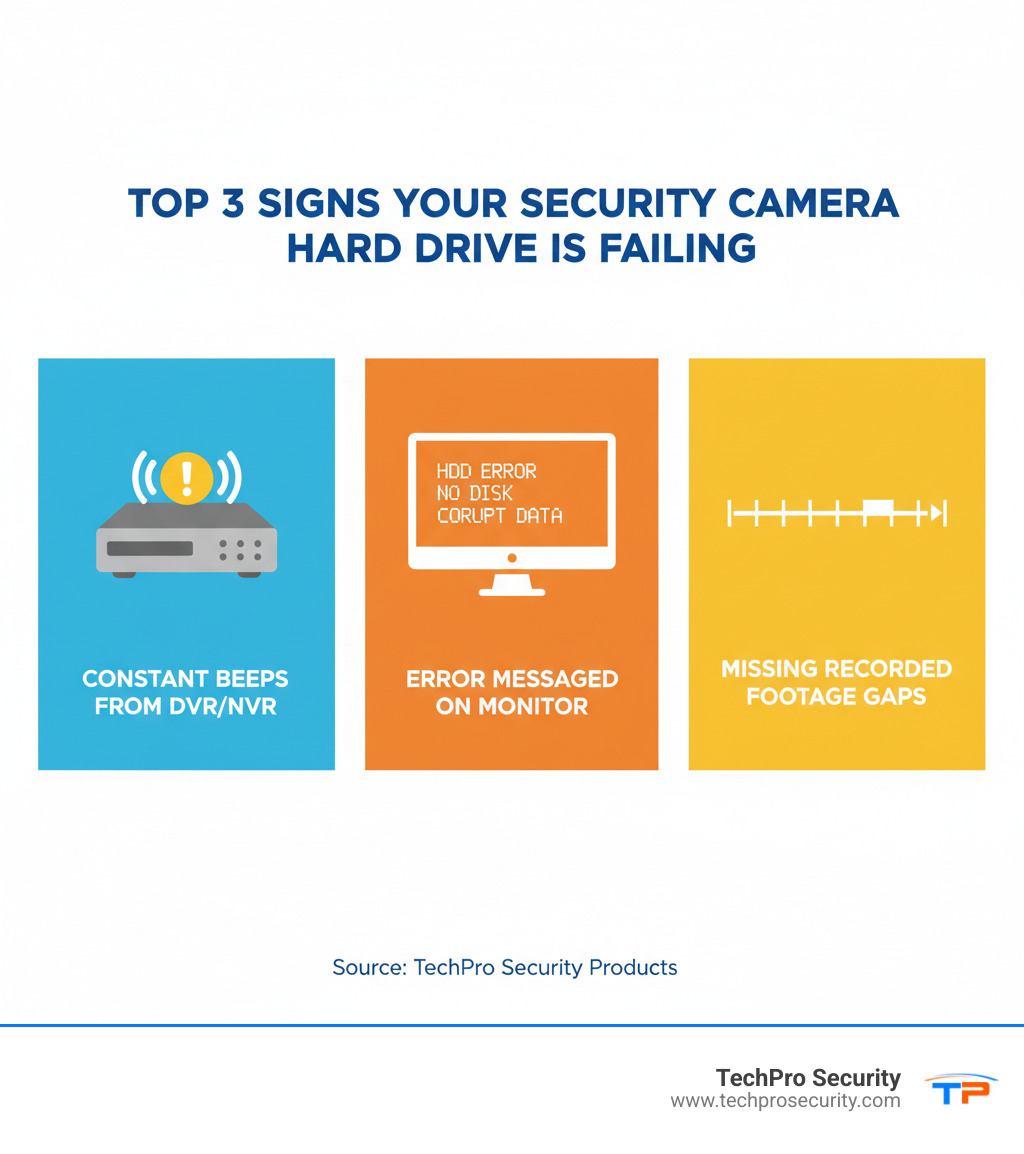
- Constant beeping from your DVR/NVR unit
- Error messages like “HDD Error” or “No Disk”
- Missing footage or gaps in recordings
- Short recording duration
- System freezes or slow video playback
What You’ll Need:
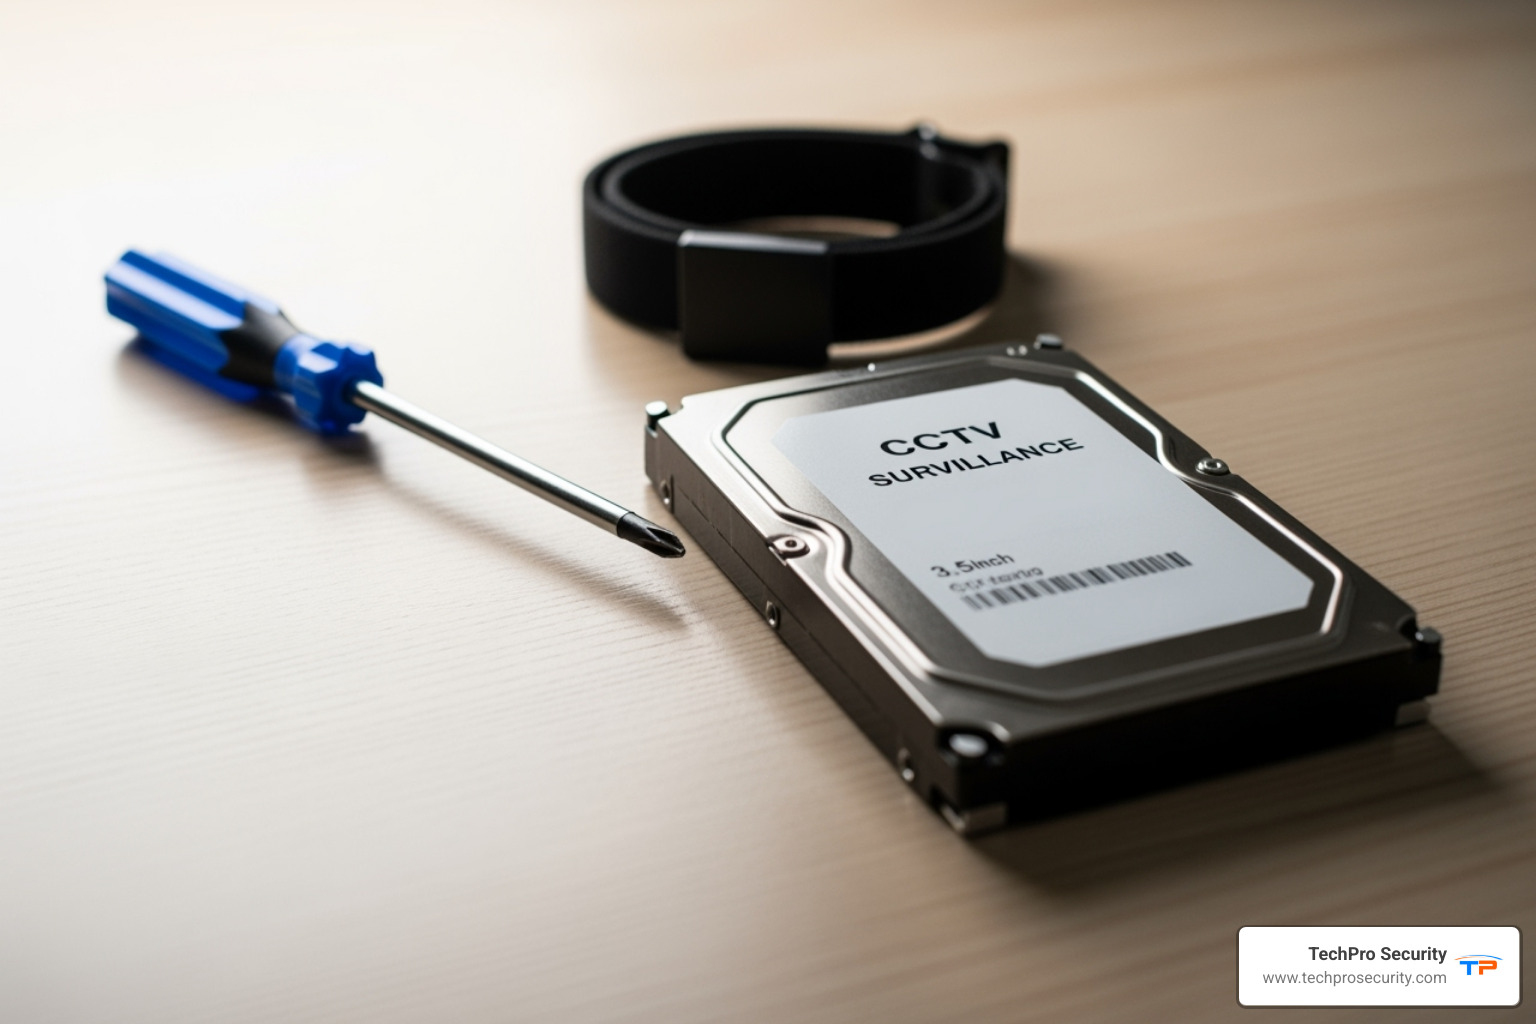
- A surveillance-grade hard drive (2TB-8TB recommended)
- Phillips screwdriver
- Anti-static wrist strap (recommended)
- 30-45 minutes of time
Most DVR/NVR systems use standard SATA hard drives that are easy to replace. The process involves backing up footage, powering down the system, swapping the drive, and formatting it via your DVR’s menu.
I’m Brad Besner, founder of TechPro Security Products. Since 2007, my team has handled hard drive replacement and maintenance for hundreds of security installations in Boca Raton and across South Florida. We’ve seen how a simple drive swap saves time and money over a full system replacement.
This guide walks you through the entire process, from identifying a failing drive to installing and formatting a new one, so you’ll know exactly what to do when your system alerts you to a problem.

Is It Time for a Hard Drive Upgrade or Replacement?
Your security system’s hard drive operates 24/7, constantly writing and rewriting footage. This relentless activity means that, unlike a personal computer’s drive, it never gets a break. Eventually, all drives wear out, but they usually provide warning signs before they fail completely. Recognizing these signs allows you to plan a hard drive replacement before you lose critical footage.
- Constant Beeping: This is often the first and most literal alarm. A continuous beep from your DVR or NVR typically signals a storage problem, indicating the drive can’t read or write data correctly.
- HDD Error Messages: Your system may display direct warnings like “HDD Error,” “Hard Drive Not Found,” or “Disk Malfunction.” These messages mean the DVR can no longer communicate with the storage device.
- Not Recording Footage: The most critical symptom is finding gaps in your playback or no recordings at all. This defeats the purpose of a security system and can be caused by a full, corrupted, or failed drive.
- Shorter Recording Duration: If your system once stored a month of footage but now only holds a week’s worth, parts of the hard drive may be failing. This corruption reduces the usable storage space.
- Slow Video Playback: When reviewing footage becomes slow, stutters, or freezes, the hard drive is struggling to retrieve data. A healthy drive provides smooth, quick access to your videos.
- System Freezes: An unresponsive DVR or NVR often points to a failing drive that is causing system-wide instability.
Hard Disk Drives (HDDs) contain moving parts, making them susceptible to mechanical failure under the constant strain of 24/7 recording. If you notice any of these symptoms, it’s time to consider a hard drive replacement to restore your system’s performance and reliability.
Want to learn more about how your recording system works? Check out our page on DVR Security Camera Systems for the complete picture.
Choosing the Right Drive for Your Security System
Not all hard drives are created equal. For a security camera hard drive replacement, using a standard desktop drive is a common mistake that can lead to premature failure. A security system’s drive works 24/7, a workload that demands a specialized component.
Surveillance-Grade HDD vs. Standard Desktop HDD vs. SSD
Hard Disk Drives (HDDs) are affordable and offer large storage capacities, making them the standard for video surveillance. Solid-State Drives (SSDs) are much faster and more durable since they have no moving parts, but their high cost per terabyte makes them impractical for storing weeks of high-definition footage.
This is why surveillance-grade HDDs are the ideal choice. They are engineered for the continuous, heavy write-cycle demands of security systems.
| Feature | Surveillance HDD | Standard Desktop HDD | SSD |
|---|---|---|---|
| 24/7 Recording | Optimized for continuous write cycles | Not designed for continuous write cycles | Good, but cost-prohibitive for large capacities |
| Lifespan | Longer under constant surveillance workload | Shorter under constant surveillance workload | Write endurance can be a factor for 24/7 recording |
| Cost | Moderate (higher than desktop, lower than SSD) | Low | High (per GB) |
| Performance | Consistent, reliable streaming | Adequate for burst reads/writes | Extremely fast read/write speeds |
| Vibration/Heat | Built to withstand multi-drive vibration & heat | Not optimized for multi-drive environments | Highly resistant to vibration/heat |
Surveillance drives have a higher workload rating, meaning they can write more data per year without failing. Their firmware is tuned for smooth video streaming to prevent dropped frames, and they are built to handle the heat and vibration of an always-on, multi-drive environment. A standard desktop drive might fail within a year in a DVR, whereas a surveillance drive is designed for long-term reliability.
Important Considerations for Your New Drive
When shopping for a replacement, keep these factors in mind:
- Workload Rating: Always choose a drive explicitly labeled “surveillance” or “CCTV.”
- Storage Capacity: Our standard systems with 2TB of space typically provide 15-30 days of recording. For more history, consider a 4TB, 6TB, or 8TB drive. Upgrading capacity during a hard drive replacement is a smart move if you find your current storage insufficient.
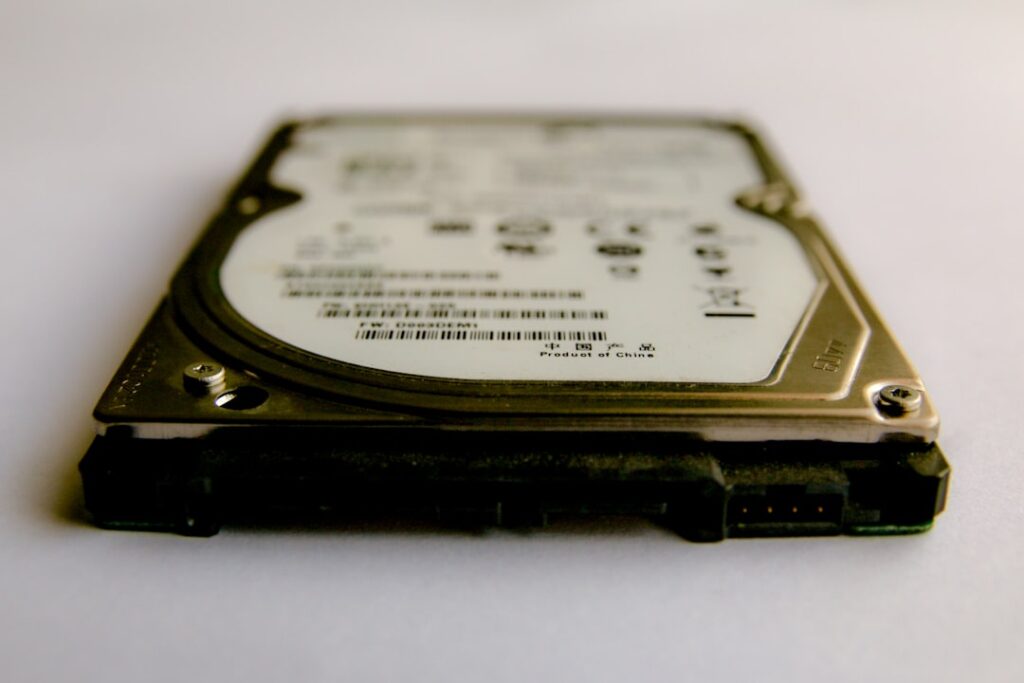
- Form Factor: Most DVRs and NVRs use 3.5-inch drives (desktop size). Some compact units use 2.5-inch drives (laptop size). Check your system’s specifications before buying to ensure it fits.
- SATA Interface: Nearly all modern DVRs use the SATA interface for power and data. It’s a standard connector, so compatibility is rarely an issue with new surveillance drives.
Choosing a surveillance-grade HDD is an investment in reliability and peace of mind, ensuring your system captures every critical moment. For more details on how DVRs use these drives, see our page on DVR Security Camera Systems.
Your Step-by-Step Guide to Hard Drive Replacement
With the right drive in hand, it’s time to perform the replacement. This process is straightforward, but safety is paramount. DVRs contain components sensitive to static electricity, so take a few precautions.
Safety First: Always power down and unplug your system from the wall. Work in a clean, dry area, preferably not on carpet. Use an anti-static wrist strap clipped to the DVR’s metal chassis, or frequently touch an unpainted metal part of the case to discharge static buildup.

Step 1: Back-Up Footage and Power Down
Crucially, back up important footage before you begin. Once the old drive is removed, data recovery can be difficult or impossible. Use your DVR’s menu to export essential video clips to a USB flash drive. If the drive has already failed and you can’t access footage, professional data recovery may be necessary.
After your backup is complete, power down the DVR through its menu, then unplug the power cord from the wall. Disconnect all other cables (Ethernet, HDMI/VGA, USB) and move the unit to your workspace. Use a small container to keep track of screws.
Step 2: The Physical Hard Drive Replacement
- Open the Case: Remove the screws on the back or sides of the DVR’s metal case and gently slide the cover off.
- Locate the Drive: The hard drive is the rectangular metal box inside, usually the largest component.
- Disconnect Cables: Gently unplug the two cables from the back of the drive: the wide SATA data cable and the multi-colored SATA power cable.
- Remove the Old Drive: Unscrew the four mounting screws (typically two on each side) that hold the drive in its bay. Carefully slide the old drive out.
- Install the New Drive: Slide your new surveillance-grade hard drive into the empty bay, ensuring the ports on the back are correctly oriented.
- Secure the New Drive: Re-insert the four mounting screws to hold the drive snugly in place. Do not overtighten.
- Reconnect Cables: Plug the SATA data and power cables into the new drive. The connectors are keyed and will only fit one way, so don’t force them.

Step 3: Initialization and Formatting Your New Drive
The new drive must be prepared for recording.
- Reassemble and Reconnect: Close the DVR case and secure it with its screws. Reconnect the power, video, Ethernet, and any other cables.
- Power On: Turn on your DVR. It may automatically prompt you to format the new drive.
- Format the Drive: If not prompted, steer to the system menu and find the storage settings (often labeled “Storage,” “HDD Management,” or “Disk Management”). Select the new drive, which may appear as “uninitialized” or “unformatted,” and choose the “Format” option. This process prepares the drive for your system and usually takes only a few minutes.
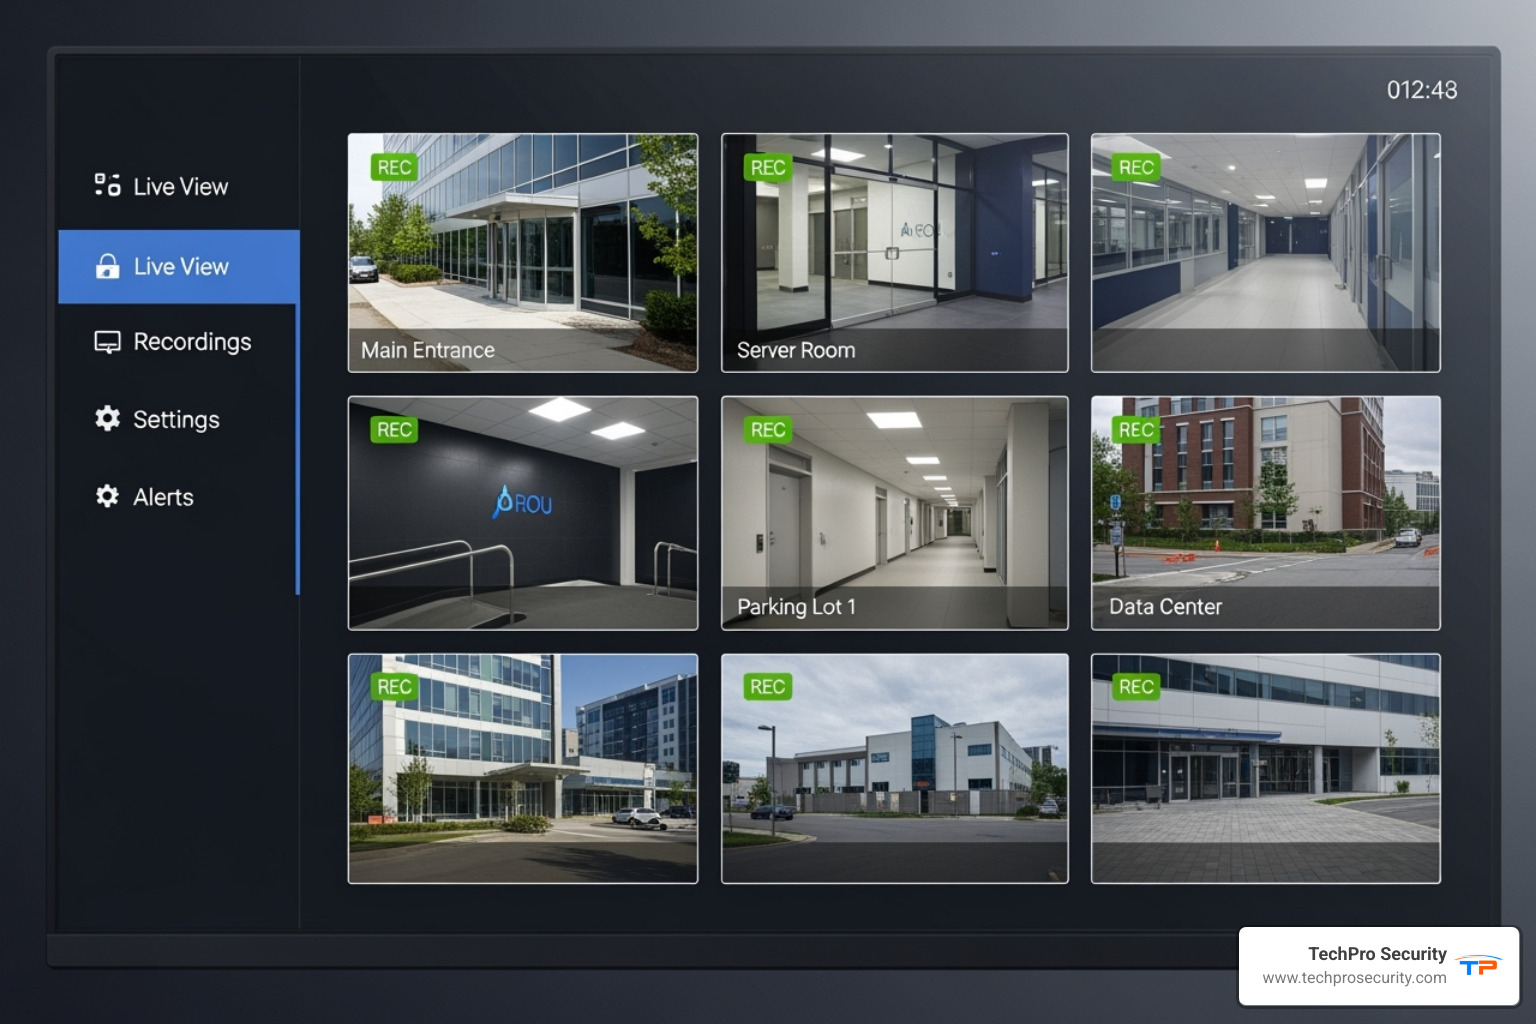
- Verify Operation: After formatting, the drive’s status should read “Normal” or “Healthy.” Check your live camera views and test the recording and playback functions to confirm the hard drive replacement was successful.
If you encounter issues like the drive not being recognized or formatting errors, our team is here to help. We offer comprehensive Support services to walk you through troubleshooting.
Risks and When to Call a Professional
While a DIY hard drive replacement is manageable for many, it’s important to understand the risks and know when to call a professional.
Understanding the Potential Pitfalls
- Potential Data Loss: If you don’t back up footage from the old drive before it fails completely, that data may be lost forever.
- Voiding the Warranty: Opening your DVR or NVR could void the manufacturer’s warranty. Check your warranty terms if your system is still relatively new.
- Physical Damage: Sensitive electronic components can be easily damaged by static electricity, a dropped tool, or a poorly connected cable. This can lead to further system malfunctions.
When to Call a Professional
It’s wise to seek expert help in certain situations. If you feel uncomfortable at any point, it’s best to stop and call for assistance.
- Complex Systems: Advanced NVRs, especially in commercial settings, may use complex RAID configurations (multiple drives working together). Replacing a drive in a RAID array requires specialized knowledge to avoid catastrophic data loss.
- Post-Replacement Issues: If your system is still beeping, showing errors, or not recording after the replacement, the problem may be more complex, such as a faulty motherboard port, power supply issue, or firmware conflict.
- Data Recovery: If you need to recover footage from a failed drive that you couldn’t back up, this requires specialized data recovery services.
- Large-Scale Installations: For large residential or commercial systems, professional service ensures a quick and correct resolution, minimizing downtime and risk.
The TechPro Security team has years of experience with these scenarios across South Florida. We offer extensive warranties and free US-based support to ensure you’re never left without a solution. If you’re concerned about data protection, our Disaster Recovery services can provide additional peace of mind.
Frequently Asked Questions about DVR Hard Drives
Here are answers to common questions about hard drive replacement and DVR storage.
Why is my DVR constantly beeping after a hard drive replacement?
A constant beep after installing a new drive usually means the system hasn’t initialized it yet. The solution is to format the drive through the DVR’s system menu, as detailed in Step 3 of our guide. This process allows the DVR to prepare the drive for recording.
If you’ve already formatted the drive and the beeping persists, double-check your connections. Ensure the SATA data and power cables are securely plugged into both the hard drive and the motherboard. A loose cable is a common cause of this issue.
How long will my security system record with the new drive?
Recording duration depends on several factors:
- Drive Capacity: A larger drive (e.g., 8TB) stores more footage than a smaller one (e.g., 2TB).
- Number of Cameras: More cameras mean more data is being recorded simultaneously.
- Resolution: Higher resolutions like 4K use significantly more space than 1080p.
- Recording Schedule: Continuous 24/7 recording uses more space than recording only on motion detection.
As a benchmark, a 2TB hard drive in a typical multi-camera system provides about 15-30 days of continuous recording. Upgrading to a 4TB, 6TB, or 8TB drive can extend this to weeks or months, depending on your settings.
Can I use a regular computer hard drive in my DVR?
While a standard desktop hard drive will physically fit, you should not use one in a DVR or NVR. Surveillance-grade hard drives are specifically designed for the 24/7 write-intensive workload of security systems.
A desktop drive is built for intermittent use (mostly reading data, with occasional writing). A security system’s drive writes data constantly from multiple cameras. This heavy workload will cause a standard drive to fail prematurely, often within months. This failure risks the loss of critical footage.
Investing in a proper surveillance drive ensures higher reliability, a longer lifespan, and the peace of mind that your system is performing as it should. A premature hard drive replacement due to using the wrong type of drive is an avoidable problem.
Conclusion
We hope this guide has empowered you to perform a hard drive replacement for your security camera system. By recognizing the warning signs, choosing the right surveillance-grade drive, and following our step-by-step instructions, you can successfully complete this manageable task.
The benefits are significant: improved reliability, an extended system life, and the peace of mind that comes from knowing your property is continuously monitored and every critical moment is securely recorded.
At TechPro Security, providing that peace of mind is our mission. Since 2007, our South Florida-based team has helped homeowners and businesses protect what matters most. We believe in empowering our clients with knowledge while always being ready to provide professional support.
Whether you’ve completed your hard drive replacement or decided you’d rather leave it to the experts, we’re here for you. If you have questions or need assistance, don’t hesitate to reach out to our team.

Ready to take your security to the next level? Explore our comprehensive CCTV services to see how we can help you build a robust security infrastructure. From Miami to Fort Lauderdale and throughout South Florida, we are your local security partners.

